Thinking about listing your Chicago home this spring? You are not alone. Buyer activity usually spikes between March and May, and the best-prepped homes grab the most attention fast. In this guide, you will get a clear plan to time your listing, tackle the right fixes, navigate disclosures and permits, and showcase your property with great photos. Let’s dive in.
Why spring sells in Chicago
Spring is when many buyers are active, and national reports point to April as a strong time to hit the market, with some studies flagging mid-April as a sweet spot for showings and weekend traffic. You can review the national trend in Realtor.com’s analysis of best listing weeks. Chicago generally follows that rhythm.
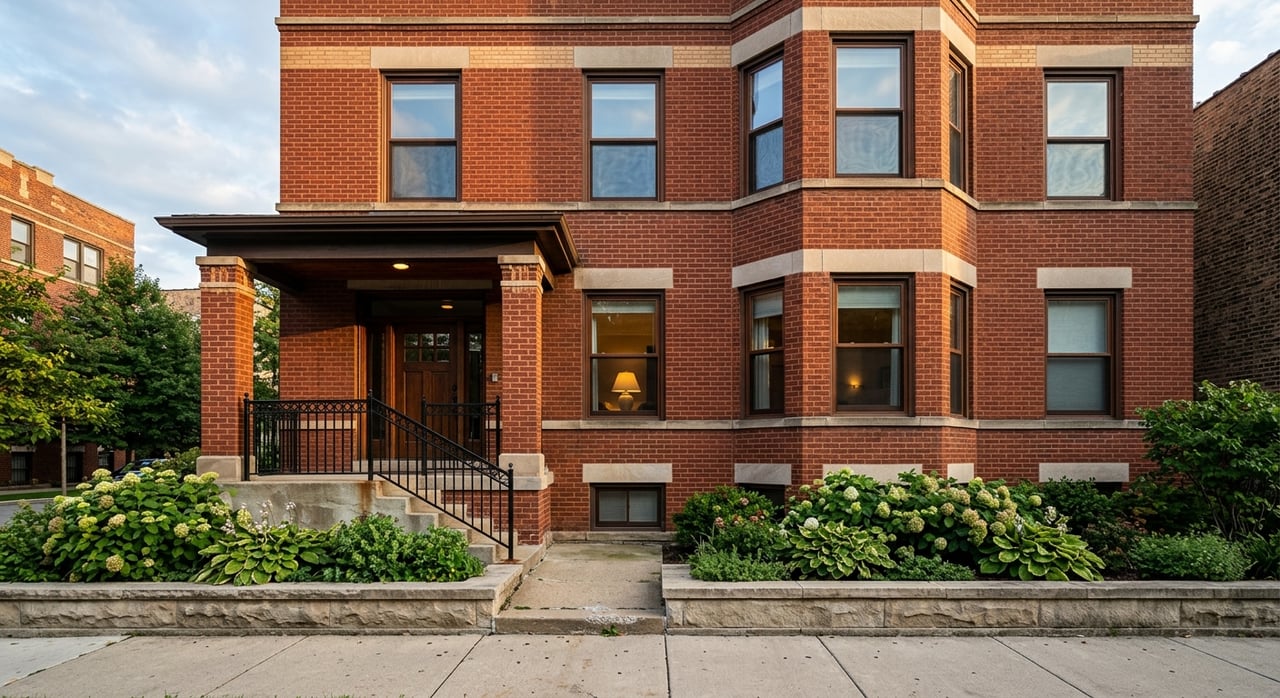
Here is the local wrinkle. Early spring can still look wintery here. Lawns are dormant and trees are bare in March, so your curb appeal may peak later. Some local advisors note that the best-looking exterior photos often happen in late April or May when grass greens up and trees leaf out. You can weigh that tradeoff in this local take on early planning and timing.
The practical move is to set your date first, then work backward so your home is photo-ready at the exact moment you want to list. If you plan to list earlier to catch demand, focus on interior updates and staging that look good even on cloudy days. If you can wait, schedule exterior photos once greenery pops.
Legal and permit steps to start now
Before you spend on projects, get the must-do paperwork and approvals squared away.
Required Illinois disclosures
- Complete the Illinois Residential Real Property Disclosure Report. Sellers of 1–4 unit properties must disclose known material defects using the state form. See the statute overview from the Illinois General Assembly here.
- Provide the IEMA radon pamphlet and the statutory radon disclosure before contract. Illinois’ Radon Awareness Act requires the pamphlet and disclosure language, though it does not mandate testing or mitigation by sellers. Read more on the law here.
- If your home was built before 1978, prepare the federal lead-based paint disclosure and pamphlet. A summary of Illinois seller disclosure rules, including lead paint, is available here.
Chicago permits and approvals
Chicago distinguishes cosmetic, in-kind work from structural or system changes. Painting, basic repairs, and some in-kind replacements may not need a permit. Work that changes structure, window or door sizes, roofing scope, porches, decks, or major HVAC, plumbing, or electrical typically does. Review the City’s permit guidance early so projects do not delay your timeline. The City’s permit guide is summarized here.
If your property sits in a local landmark district or under an HOA, exterior changes like windows, porches, fences, or colors may require approvals. Put those applications at the front of your plan.
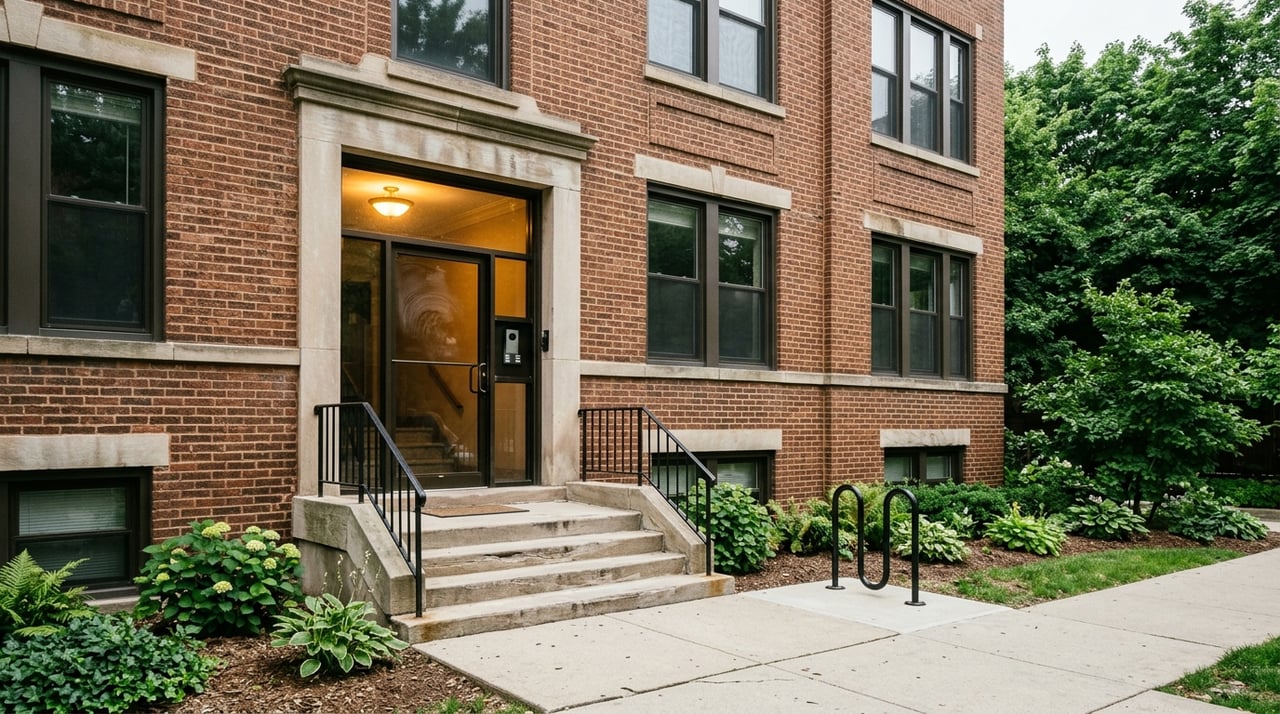
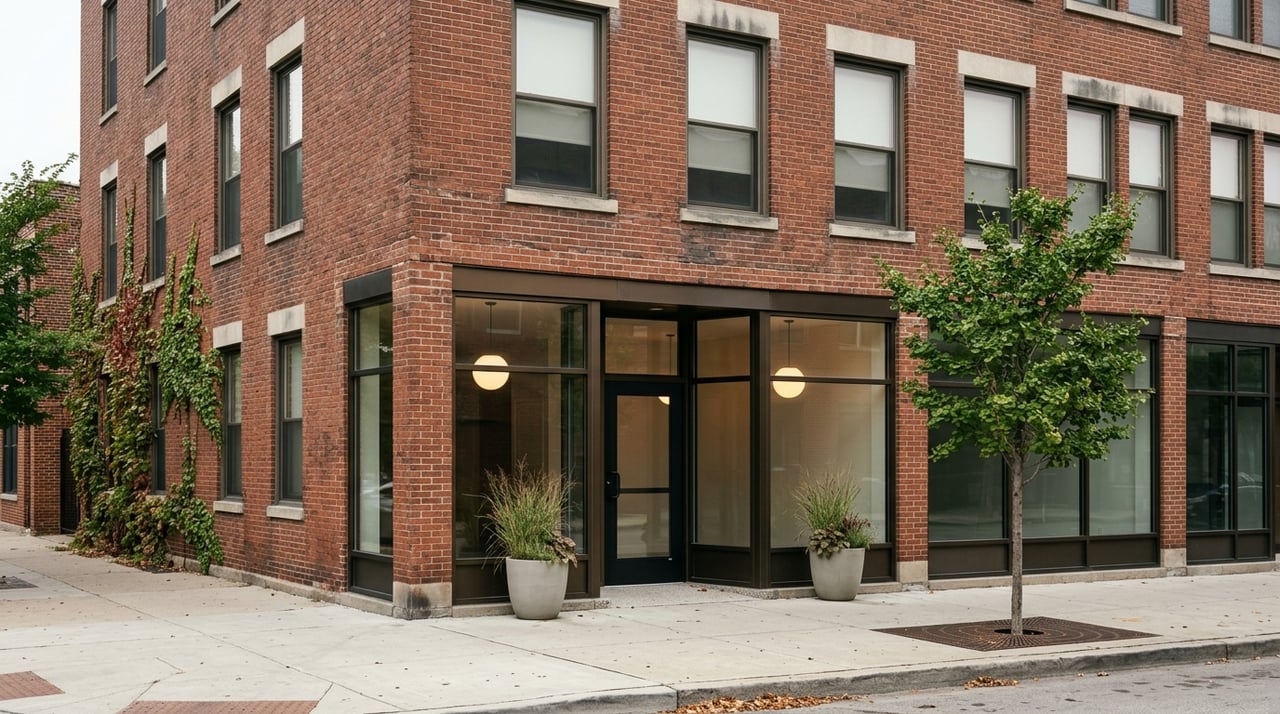
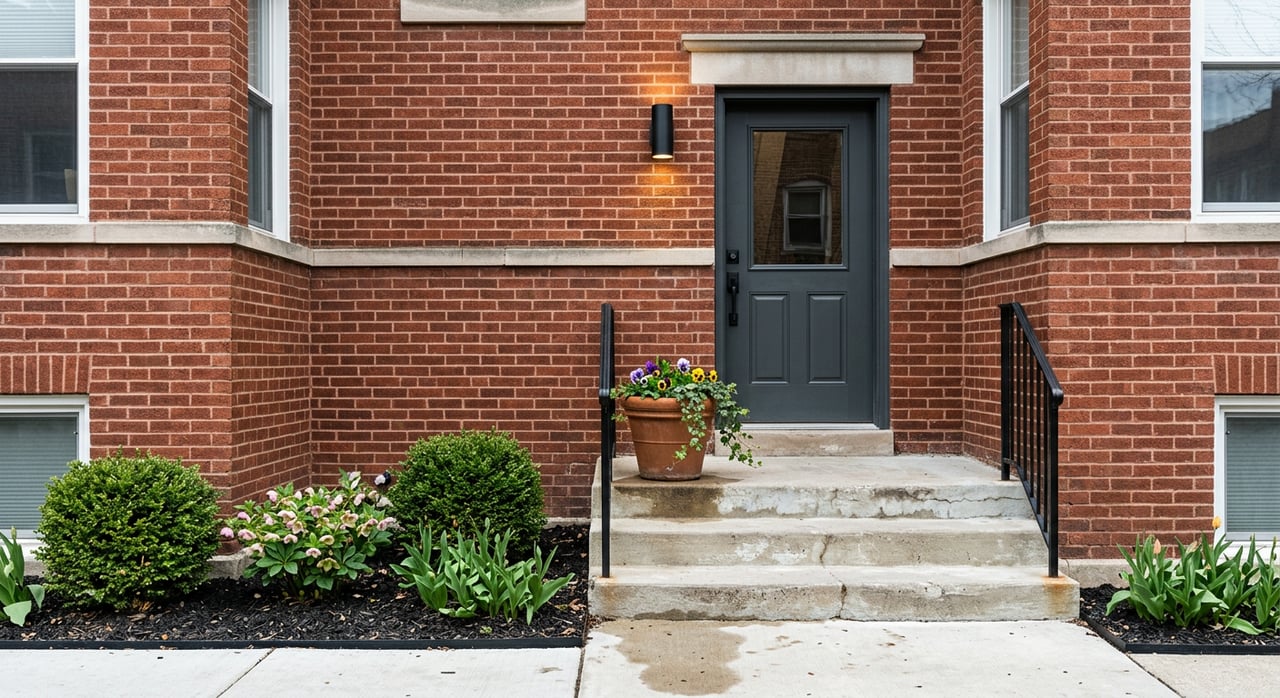
Exterior fixes with real ROI
First impressions happen in seconds, and curb appeal carries weight online and at the showing. National Cost vs. Value data continues to show that exterior projects often recoup the most at resale. A recent report highlights the strong value of garage door replacements, front entry upgrades, and other curb-focused improvements. You can review the cost vs. value trend here.
Safety and system checks
- Roof, gutters, and chimney: Look for loose shingles, clogged downspouts, and visible damage. Major issues can derail deals, so get quotes early and confirm permit needs for any replacements per the City’s guide here.
- Porches and stairs: Ensure railings are secure and walkways are safe.
- HVAC and water heater: Book a service visit. Have receipts ready for buyers.
- Basement and water entry risk: Test any sump pumps and confirm discharge points direct water away from the foundation. In Chicago’s combined-sewer areas, a backwater prevention valve can help in the right situations. A technical code reference on backflow is available here. Document any past water issues and repairs for buyer confidence.
High-ROI curb appeal moves
- Upgrade the garage door if it is old or dented.
- Refresh the front door with paint or a new unit and updated hardware.
- Tidy landscaping: edge, mulch, prune, and add simple seasonal color.
- Power wash siding, steps, and walkways. Repair cracks in concrete.
- Update exterior bulbs and fixtures. Replace or paint faded mailbox and house numbers.
These low to mid-cost items tend to photograph beautifully and make your listing feel fresh.
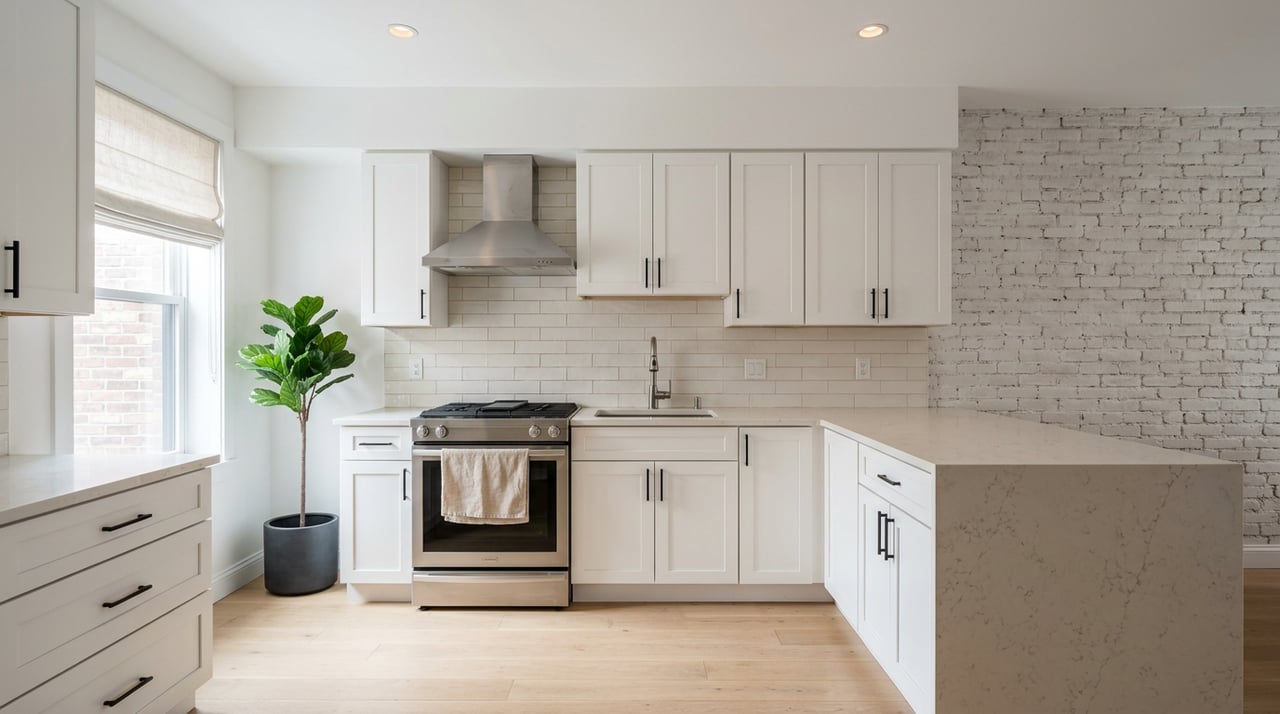
Interior updates that photograph well
Great photos sell the click. Many buyer agents report that staging helps clients visualize living in the home, and some listing agents see shorter market times and offer gains when homes are staged. The National Association of Realtors summarizes staging impact here.
Follow this order of operations so every photo shines:
- Finish repairs and deep cleaning. 2) Complete staging. 3) Book professional photography. Staging before the shoot is a standard best practice. See guidance on sequencing and marketing a dated space effectively here.
Low-cost updates buyers love
- Fresh, neutral paint in key rooms like the living area and the primary bedroom.
- Declutter and depersonalize. Remove excess furniture to make rooms feel bigger.
- Swap in warm, bright bulbs and simple modern fixtures.
- Update cabinet hardware and refresh caulk and grout lines.
- Clean or refinish floors. Hire pro cleaners for carpets.
Agents often rank decluttering, cleaning, minor repairs, painting, staging, and professional photos as the top pre-listing steps. See a summary of agent recommendations here.
Professional photography costs and add-ons
A standard real estate shoot for a typical single-family home often falls in the $150 to $400 range, with add-ons like drone, twilight, or 3D tours costing more. Review a breakdown of typical pricing here. Schedule your photographer after staging, and build in 1 to 3 days for editing so your MLS goes live with finished images.
8–12 week spring prep plan
Use this workback plan to hit your target date. If you want to list the first week of April, start in January or February. Adjust tasks to your home’s needs.
Weeks 10–12
- Market check and pricing: Pull recent neighborhood comps and discuss a pricing strategy. Pick your target listing window.
- Gather documents: Deed, utility bills, past permits, warranties, major repair receipts, HOA or condo docs, and any prior inspection reports.
- Scope major work: Get contractor quotes for roof, HVAC, windows, or porch projects. Confirm if permits are needed using the City’s guidelines here.
Weeks 6–10
- Fix safety and system issues: Address roof leaks, active plumbing or electrical faults, or structural concerns.
- Basement and flooding: Test sump pumps and organize receipts for any waterproofing or sewer work. A technical code reference for backwater valves is available here.
- Start permit applications early if required.
Weeks 4–6
- Curb appeal: Tackle garage or entry door updates, power washing, pruning, and mulch. Choose projects with solid resale value based on Cost vs. Value trends outlined here.
- Interior refresh: Neutral paint, light fixture swaps, hardware updates, and floor cleaning or refinishing. Finalize your staging plan.
Weeks 2–3
- Staging: Bring in rental pieces for key rooms or complete your own decluttering and styling. Staging should be done before the photo shoot. See staging sequence guidance here.
- Deep clean: Carpets, vents, and final touch-ups.
Week 0–1
- Photography: Book professional photos once staging is complete and outdoor conditions match your strategy. Budget typical pricing per this reference here.
- Go live: Many agents favor a mid-week launch to capture weekend traffic. National research on timing is summarized here.
Optional: Pre-listing home inspection
A pre-listing inspection can surface issues early and reduce last-minute renegotiations. Typical costs often run in the $300 to $500 range, depending on size and location. See a cost overview here. If the report reveals issues, decide whether to repair or disclose and price accordingly.
Photo timing for Chicago curb appeal
If you want buyers to see green lawns and leafy trees, plan exterior photos for late April or May. That said, do not miss strong early spring demand if your interior shines now. National timing insights are summarized here, and a local perspective on beating the rush is outlined here. Pick your priority, then schedule the shoot that supports it.
Quick pre-listing checklist
- Legal and disclosures: Illinois Residential Real Property Disclosure form, radon pamphlet and disclosure, and federal lead-paint paperwork for pre-1978 homes. Learn more here, here, and here.
- Systems: Roof, gutters, and chimney check; HVAC tune-up; water heater service; sump pump test and discharge check. Permit guide is summarized here.
- Exterior: Power wash, lawn and bed clean-up, front door or garage door refresh, fix trip hazards, update bulbs and house numbers. Cost vs. value context is available here.
- Interior: Declutter, deep clean, neutral paint, replace tired fixtures, and stage the living room, primary bedroom, and kitchen first. Staging tips are summarized here.
- Media: Staging complete, then pro photos. Add drone or twilight if appropriate. Ready your listing for a mid-week launch aligned to your window.
Ready to sell with a plan?
A clear process protects your price and your timeline. If you want help selecting the right improvements, aligning photos with Chicago’s spring window, and launching your listing for maximum weekend traffic, reach out. You will get local insight, a disciplined plan, and steady communication from prep to closing. Connect with Tina Hollins to schedule a consultation and map your next steps.
FAQs
When should I schedule listing photos in Chicago?
- Book photos after staging and minor repairs are complete. For green lawns and leafy trees, aim for late April to May, but do not delay so long that you miss the main March to May buyer pool. See guidance on staging and timing here and national timing insights here.
Which pre-listing projects have the best ROI?
- Garage door replacements, front entry upgrades, modest facade improvements, and tidy landscaping often rank high in cost recouped at resale. See Cost vs. Value trends here.
Do I need a permit for my pre-sale projects?
- Check Chicago’s permit guidance before you start. Cosmetic work like painting and some in-kind replacements may be exempt. Structural changes, window or door size changes, major roofing scope, porches, decks, and system work often require permits. Review the City’s guide here.
How much do staging and photos cost in Chicago?
- Photography for a typical home often ranges from about $150 to $400, with higher costs for drone, twilight, or 3D tours. Staging varies widely but often lands in the low thousands for multi-room packages. See photo pricing context here and staging impact data here.